
To clean a reusable coffee filter, dump the used grounds, then rinse it under warm running water to remove oils and residue. Wash with a drop of mild, unscented dish soap and a soft sponge or brush, scrubbing gently in all crevices. For stains or clogs, soak it in a vinegar or baking soda solution, then rinse thoroughly. Let it air-dry completely before storing so your next cup tastes as fresh as possible.
Key Takeaways
- Rinse the reusable filter immediately after brewing, dumping grounds into trash or compost to prevent oils and residue from drying on.
- Wash with warm water and a few drops of mild, unscented dish soap, gently scrubbing with a soft sponge or brush.
- Deep clean regularly by soaking in vinegar, baking soda, or citric acid solution to remove oily buildup, stains, and mineral deposits.
- Rinse thoroughly after any cleaning, ensuring no soap or cleaner remains, then air-dry completely on a clean, well-ventilated surface.
- Store the fully dry filter in a clean, dry, preferably airtight container to prevent mold, odors, and warping.
Quick Start: How to Clean a Reusable Coffee Filter
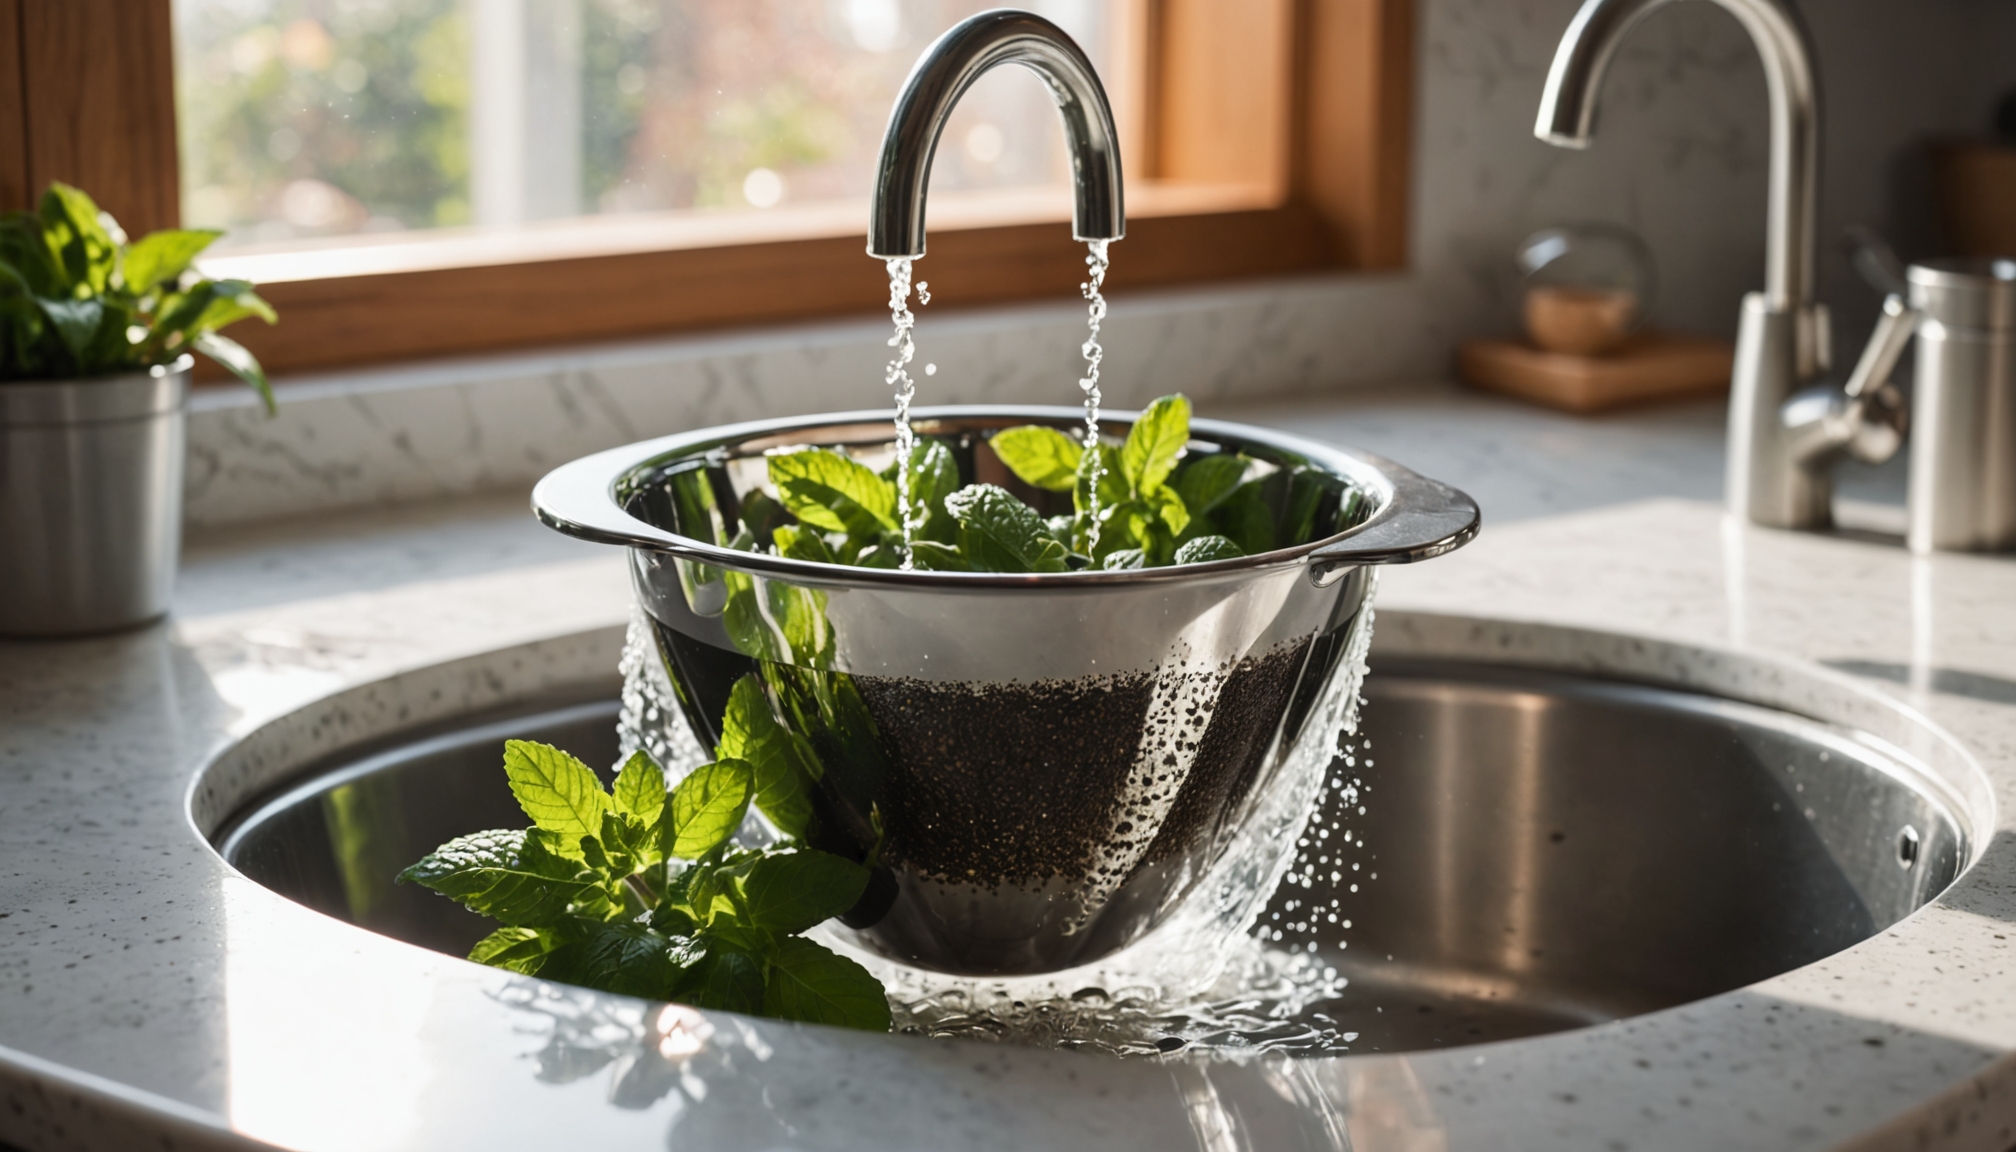
Start by clearing out all the loose grounds so your reusable coffee filter actually gets clean. Dump the used coffee into compost or trash, then tap and shake the filter to knock particles out of the mesh, seams, and rim. If the design allows, flip it inside out to dislodge hidden debris and quickly rinse with warm or hot water so oils don’t dry and harden. This quick rinse also helps prevent residue buildup that can affect flavor over time.
Next, wash with a bit of mild dish soap on a soft sponge or cloth. Scrub in small circles, paying attention to crevices, corners, and the underside of the mesh. Use a soft-bristled brush or old toothbrush on stubborn spots, but don’t scrub aggressively.
For deeper cleaning, soak the filter in hot soapy water or a warm water–white vinegar mix for 5–30 minutes. Treat stains with baking soda on a damp brush or paste, using only non-abrasive tools.
How to Rinse Your Filter After Every Brew
Once you’ve cleared out the grounds and given your filter a basic wash, focus on how you rinse it after every brew. As soon as the filter’s cool enough to handle, remove it and rinse it right away. Immediate rinsing keeps oils from drying onto the mesh or fibers and makes later cleaning easier. Rinse the filter with cold water after every use to reduce thermal stress on the fibers and help it last longer.
Before you rinse, dump the grounds into a compost bin or trash, then tap or shake out any loose bits. This reduces what goes down the drain and helps water flow through the filter more easily.
Hold the filter under running water and let the stream pass through every section, inside and out. Use a stronger flow to push out fine particles and keep rinsing until you don’t see any grounds.
Match your water temperature to the filter material and manufacturer’s instructions, then let the filter drain and air dry completely.
Do a Simple Soap Wash Between Brews
Between regular rinses, give your reusable filter a quick soap wash to keep oils from dulling your coffee’s flavor. Use warm water and just 1–2 drops of mild, unscented dish soap, especially on metal or reusable paper filters. Avoid fragranced cleaners, bleach, or harsh detergents since they can cling to the surface and affect aroma. Regular washing like this also helps reduce germs so your daily brew stays as clean as it tastes.
Gently scrub the filter with a soft sponge, dish brush, or old toothbrush. Work in light circular motions over the inner and outer surfaces, paying attention to seams, grooves, and creases where oils collect. Don’t scrub aggressively or you risk bending mesh or damaging fine openings.
Rinse very thoroughly under running water, ideally from the inside out, until no slickness or soap bubbles remain. Then set the filter upside down on a rack or clean towel to air-dry completely. Do this periodic soap wash after several brews, when you notice light oil buildup.
Deep-Clean a Stained or Clogged Coffee Filter
When your reusable coffee filter looks stained or your brew starts tasting bitter, it’s time for a deeper clean. You’ll soak the filter to dissolve stubborn oils and residue, then gently scrub the mesh to free anything still stuck. Consistent deep-cleaning helps prevent invisible mineral buildup that can mute flavors and make your coffee taste chalky or metallic over time.] Finally, you’ll rinse everything thoroughly so no cleaner or loosened debris lingers in the filter.
Soak To Dissolve Buildup
Even with regular rinsing, coffee oils and fine grounds eventually cling to a reusable filter and clog its mesh, so a targeted soak helps dissolve what everyday washing can’t reach. Regular cleaning not only improves taste but also helps prevent mold or bacteria from lingering in the filter. Match the soak to the buildup: vinegar for oils, baking soda for stains, citric acid for mineral scale.
| Problem Type | Soak Solution | Typical Soak Time |
|---|---|---|
| Oily residue | 1:1 white vinegar + warm water | 20–30 minutes |
| Heavy oily buildup | Strong 1:1 vinegar mix | Up to overnight |
| Dark stains | 1–2 Tbsp baking soda in 16 oz hot water | 30–60 minutes |
| Stubborn stains | Baking soda paste on mesh | 10–15 minutes |
| Mineral deposits | Citric acid solution (or with vinegar) | 20–40 minutes |
Use warm, not boiling, filtered water, and avoid harsh abrasives, especially on nylon or gold-tone filters.
Scrub And Rinse Thoroughly
Once soaking has loosened the worst buildup, you still need hands-on cleaning to fully restore flow through the mesh. Tap the filter over the trash to remove loose grounds, then rinse under warm running water, flushing from the inside out so you don’t drive debris deeper.
Use a soft nylon brush or old toothbrush on both sides of the mesh. Scrub gently in circles, paying extra attention to seams, corners, and dark stains. Add a drop of mild dish soap or a baking soda paste for greasy or stubborn spots and repeat brushing until water flows freely.
Rinse thoroughly from multiple angles for at least 30 seconds, then shake off water, air-dry upright, and inspect against light for any remaining clogs.
How to Dry and Store Your Reusable Filter
Once your filter’s clean, you’ll protect its lifespan and your coffee’s flavor by drying and storing it the right way. In this section, you’ll learn best air-drying practices that prevent trapped moisture, mold, and stubborn odors. You’ll also see smart storage solutions that keep your reusable filter dry, clean, and ready for your next brew.
Best Air-Drying Practices
While cleaning keeps your reusable coffee filter functional, how you dry and store it ultimately determines how long it lasts and how fresh your coffee tastes. Air-drying is simple, but the details matter if you want crisp flavor and a dependable filter every morning.
1. Choose clean, non-porous support
Set the filter upright on ceramic, stainless steel, or glass so moisture evaporates quickly.
2. Prioritize airflow everywhere
Keep it in a ventilated spot; hang cloth filters vertically so air reaches every fiber.
3. Use gentle drying helpers
Shake off excess water, then pat with a lint-free towel—never wring or twist.
4. Commit to truly dry storage
Wait until every surface feels cool and dry, then store upright in a breathable, dry place.
Preventing Mold And Odors
Even a perfectly cleaned reusable coffee filter will start to smell stale or grow mold if it isn’t dried and stored correctly. Rinse it right after brewing to remove oils and grounds, then shake off excess water so droplets don’t sit in seams or mesh. Before you put it away, check that rims, folds, and any gasket areas feel completely dry—especially in humid weather, when drying takes longer.
Deep clean regularly with vinegar or baking soda to strip away odor‑holding oils. For moldy filters, soak in warm water and vinegar for at least 30 minutes, then scrub gently with a soft brush and rinse thoroughly. If musty odors or fuzzy spots persist after cleaning, replace the filter to avoid ongoing contamination.
Smart Storage Solutions
Keeping mold and odors away isn’t just about how you wash the filter; it also depends on how you dry and store it between brews. Always let the filter air-dry fully on a clean, lint-free towel or rack in a well-ventilated spot. Keep it spread out or hanging so moisture can’t pool in folds, especially with cloth filters.
Once it’s bone-dry, store it in a clean, food-safe, airtight container in a cool, low-moisture cabinet—away from sinks, steam, and strong-smelling foods. Align filters neatly to prevent warping and check them before each use.
- Imagine never smelling sour coffee again.
- Picture a filter that always brews clean, bright flavor.
- Feel proud of a zero-waste, well-kept routine.
- Enjoy brewing without hidden hygiene worries.
Mistakes to Avoid When Cleaning Reusable Filters
Although reusable coffee filters are built to last, a few common cleaning mistakes can quickly ruin their performance and flavor. Don’t reach for metal scrub brushes, wire brushes, or steel wool; they can bend or tear the fine mesh. Use a soft brush or cloth and light pressure instead, especially on cloth filters, which rough agitation can wear out.
Skip harsh chemicals. Bleach, abrasive cleaners, and scented detergents can damage materials and leave residues that taint aroma. If you use mild soap, rinse thoroughly so no surfactants linger on the filter.
Skip harsh chemicals and scented detergents; even with mild soap, rinse thoroughly to prevent residue and off-flavors
Avoid letting coffee oils and mineral deposits build up. Cold, weak rinses won’t remove heavy residue; use hotter water when needed and address stains before they harden into scale.
Finally, never store filters damp or sealed without airflow. Let them air-dry fully and always remove used grounds promptly to prevent mold, mildew, and unpleasant odors.
How Often You Should Clean Your Reusable Coffee Filter
Protecting your filter from damage is only half the battle; you also need a clear cleaning schedule to keep coffee tasting fresh. You should rinse your reusable filter every single time you brew. Shake or tap out the grounds, then flush with warm or hot water so oils and fine particles don’t harden into the mesh or cloth. Always let it air-dry completely to avoid mold and stale odors.
Use this simple rhythm to stay on track:
- After every brew – Rinse thoroughly; for cloth, be extra careful and dry it right away.
- Every week (or 3–5 uses) – Deep clean metal or mesh filters; boil cloth filters or soak in vinegar if buildup’s obvious.
- Every 2–4 weeks – Do a longer soak with baking soda or oxygen cleaner when you brew regularly.
- Monthly – Tackle hidden residue or mineral deposits; if cloth filters still taste off, replace them.
Frequently Asked Questions
Can I Use My Reusable Filter With Both Coffee and Loose-Leaf Tea?
Yes, you usually can, but you’ve got to check the manufacturer’s instructions first. If the mesh is fine and the basket roomy, loose-leaf tea will steep well and won’t clog. Rinse right after each use and deep-clean regularly with mild soap or baking soda to prevent flavor transfer. If you’re picky about taste, keep one filter for coffee and another for tea.
Do Different Filter Materials Affect How Often I Should Replace Them?
Yes, filter materials change how often you should replace them. You’ll replace cloth filters most often—about every 2–6 months or ~100 brews. Gold-tone or plated mesh usually lasts 1–5+ years, depending on use and cleaning. Stainless steel and other metal filters last the longest, often 3–5 years or more. Always watch for slower flow, off-flavors, odors, or visible damage and replace when those appear.
Is It Safe to Clean Reusable Coffee Filters With Boiling Water?
Yes, it’s safe if your filter’s stainless steel, gold‑tone, or clearly labeled boil‑safe. You can boil those in plain water to loosen oils and sanitize. Don’t boil nylon, plastic‑rimmed, or mixed‑material filters; use very hot (not boiling) water instead to avoid warping. Skip boiling with vinegar, since heat can speed corrosion and fiber damage. Always check the manufacturer’s instructions and handle hot filters carefully to prevent burns.
Can Residue Buildup in Reusable Filters Cause Health or Allergy Issues?
Yes, residue buildup in reusable filters can cause health or allergy issues, especially if you’re sensitive to mold or have asthma. When you let coffee oils and damp grounds sit, you create a breeding ground for mold and bacteria. You might notice coughing, sneezing, watery eyes, or throat irritation. You reduce risk by rinsing thoroughly after each use, washing with soap regularly, and letting the filter dry completely between brews.
How Do I Remove Metallic or Plastic Odors From a Reusable Coffee Filter?
You remove metallic or plastic odors by deep-cleaning and fully drying the filter. Rinse off grounds, then soak it in warm water with dish soap or baking soda for 20–30 minutes. Scrub gently with a soft brush, inside and out. For tougher smells, use a 1:3 vinegar–water soak, then rinse very thoroughly. Let it air-dry completely. If odor lingers after several cleanings, replace the filter.
Conclusion
By now, you know exactly how to keep your reusable coffee filter fresh, clean, and brewing at its best. Rinse it right after each use, give it regular soap washes, and deep-clean when it looks stained or clogged. Dry and store it properly so it doesn’t grow odors or mold. Avoid harsh cleaners and bad habits, and you’ll protect both flavor and filter. Stick to this brewing routine, and every cup you brew will taste cleaner, richer, and more satisfying.clean a reusable coffee filter, dump the used grounds, then rinse it under warm running water to remove oils and residue.mp the used grounds, then rinse it under warm running water to remove oils and residue. Wash with a drop of mild, unscented dish soap and a soft sponge or brush, scrubbing gently in all crevices. For stains or clogs, soak it in a vinegar or baking soda solution, then rinse thoroughly. Let it air-dry completely before storing so your next cup tastes as fresh as possible.
Key Takeaways
- Rinse the reusable filter immediately after brewing, dumping grounds into trash or compost to prevent oils and residue from drying on.
- Wash with warm water and a few drops of mild, unscented dish soap, gently scrubbing with a soft sponge or brush.
- Deep clean regularly by soaking in vinegar, baking soda, or citric acid solution to remove oily buildup, stains, and mineral deposits.
- Rinse thoroughly after any cleaning, ensuring no soap or cleaner remains, then air-dry completely on a clean, well-ventilated surface.
- Store the fully dry filter in a clean, dry, preferably airtight container to prevent mold, odors, and warping.
Quick Start: How to Clean a Reusable Coffee Filter
Start by clearing out all the loose grounds so your reusable coffee filter actually gets clean. Dump the used coffee into compost or trash, then tap and shake the filter to knock particles out of the mesh, seams, and rim. If the design allows, flip it inside out to dislodge hidden debris and quickly rinse with warm or hot water so oils don’t dry and harden. This quick rinse also helps prevent residue buildup that can affect flavor over time.
Next, wash with a bit of mild dish soap on a soft sponge or cloth. Scrub in small circles, paying attention to crevices, corners, and the underside of the mesh. Use a soft-bristled brush or old toothbrush on stubborn spots, but don’t scrub aggressively.
For deeper cleaning, soak the filter in hot soapy water or a warm water–white vinegar mix for 5–30 minutes. Treat stains with baking soda on a damp brush or paste, using only non-abrasive tools.
How to Rinse Your Filter After Every Brew
Once you’ve cleared out the grounds and given your filter a basic wash, focus on how you rinse it after every brew. As soon as the filter’s cool enough to handle, remove it and rinse it right away. Immediate rinsing keeps oils from drying onto the mesh or fibers and makes later cleaning easier. Rinse the filter with cold water after every use to reduce thermal stress on the fibers and help it last longer.
Before you rinse, dump the grounds into a compost bin or trash, then tap or shake out any loose bits. This reduces what goes down the drain and helps water flow through the filter more easily.
Hold the filter under running water and let the stream pass through every section, inside and out. Use a stronger flow to push out fine particles and keep rinsing until you don’t see any grounds.
Match your water temperature to the filter material and manufacturer’s instructions, then let the filter drain and air dry completely.
Do a Simple Soap Wash Between Brews
Between regular rinses, give your reusable filter a quick soap wash to keep oils from dulling your coffee’s flavor. Use warm water and just 1–2 drops of mild, unscented dish soap, especially on metal or reusable paper filters. Avoid fragranced cleaners, bleach, or harsh detergents since they can cling to the surface and affect aroma. Regular washing like this also helps reduce germs so your daily brew stays as clean as it tastes.
Gently scrub the filter with a soft sponge, dish brush, or old toothbrush. Work in light circular motions over the inner and outer surfaces, paying attention to seams, grooves, and creases where oils collect. Don’t scrub aggressively or you risk bending mesh or damaging fine openings.
Rinse very thoroughly under running water, ideally from the inside out, until no slickness or soap bubbles remain. Then set the filter upside down on a rack or clean towel to air-dry completely. Do this periodic soap wash after several brews, when you notice light oil buildup.
Deep-Clean a Stained or Clogged Coffee Filter
When your reusable coffee filter looks stained or your brew starts tasting bitter, it’s time for a deeper clean. You’ll soak the filter to dissolve stubborn oils and residue, then gently scrub the mesh to free anything still stuck. Consistent deep-cleaning helps prevent invisible mineral buildup that can mute flavors and make your coffee taste chalky or metallic over time.] Finally, you’ll rinse everything thoroughly so no cleaner or loosened debris lingers in the filter.
Soak To Dissolve Buildup
Even with regular rinsing, coffee oils and fine grounds eventually cling to a reusable filter and clog its mesh, so a targeted soak helps dissolve what everyday washing can’t reach. Regular cleaning not only improves taste but also helps prevent mold or bacteria from lingering in the filter. Match the soak to the buildup: vinegar for oils, baking soda for stains, citric acid for mineral scale.
| Problem Type | Soak Solution | Typical Soak Time |
|---|---|---|
| Oily residue | 1:1 white vinegar + warm water | 20–30 minutes |
| Heavy oily buildup | Strong 1:1 vinegar mix | Up to overnight |
| Dark stains | 1–2 Tbsp baking soda in 16 oz hot water | 30–60 minutes |
| Stubborn stains | Baking soda paste on mesh | 10–15 minutes |
| Mineral deposits | Citric acid solution (or with vinegar) | 20–40 minutes |
Use warm, not boiling, filtered water, and avoid harsh abrasives, especially on nylon or gold-tone filters.
Scrub And Rinse Thoroughly
Once soaking has loosened the worst buildup, you still need hands-on cleaning to fully restore flow through the mesh. Tap the filter over the trash to remove loose grounds, then rinse under warm running water, flushing from the inside out so you don’t drive debris deeper.
Use a soft nylon brush or old toothbrush on both sides of the mesh. Scrub gently in circles, paying extra attention to seams, corners, and dark stains. Add a drop of mild dish soap or a baking soda paste for greasy or stubborn spots and repeat brushing until water flows freely.
Rinse thoroughly from multiple angles for at least 30 seconds, then shake off water, air-dry upright, and inspect against light for any remaining clogs.
How to Dry and Store Your Reusable Filter
Once your filter’s clean, you’ll protect its lifespan and your coffee’s flavor by drying and storing it the right way. In this section, you’ll learn best air-drying practices that prevent trapped moisture, mold, and stubborn odors. You’ll also see smart storage solutions that keep your reusable filter dry, clean, and ready for your next brew.
Best Air-Drying Practices
While cleaning keeps your reusable coffee filter functional, how you dry and store it ultimately determines how long it lasts and how fresh your coffee tastes. Air-drying is simple, but the details matter if you want crisp flavor and a dependable filter every morning.
1. Choose clean, non-porous support
Set the filter upright on ceramic, stainless steel, or glass so moisture evaporates quickly.
2. Prioritize airflow everywhere
Keep it in a ventilated spot; hang cloth filters vertically so air reaches every fiber.
3. Use gentle drying helpers
Shake off excess water, then pat with a lint-free towel—never wring or twist.
4. Commit to truly dry storage
Wait until every surface feels cool and dry, then store upright in a breathable, dry place.
Preventing Mold And Odors
Even a perfectly cleaned reusable coffee filter will start to smell stale or grow mold if it isn’t dried and stored correctly. Rinse it right after brewing to remove oils and grounds, then shake off excess water so droplets don’t sit in seams or mesh. Before you put it away, check that rims, folds, and any gasket areas feel completely dry—especially in humid weather, when drying takes longer.
Deep clean regularly with vinegar or baking soda to strip away odor‑holding oils. For moldy filters, soak in warm water and vinegar for at least 30 minutes, then scrub gently with a soft brush and rinse thoroughly. If musty odors or fuzzy spots persist after cleaning, replace the filter to avoid ongoing contamination.
Smart Storage Solutions
Keeping mold and odors away isn’t just about how you wash the filter; it also depends on how you dry and store it between brews. Always let the filter air-dry fully on a clean, lint-free towel or rack in a well-ventilated spot. Keep it spread out or hanging so moisture can’t pool in folds, especially with cloth filters.
Once it’s bone-dry, store it in a clean, food-safe, airtight container in a cool, low-moisture cabinet—away from sinks, steam, and strong-smelling foods. Align filters neatly to prevent warping and check them before each use.
- Imagine never smelling sour coffee again.
- Picture a filter that always brews clean, bright flavor.
- Feel proud of a zero-waste, well-kept routine.
- Enjoy brewing without hidden hygiene worries.
Mistakes to Avoid When Cleaning Reusable Filters
Although reusable coffee filters are built to last, a few common cleaning mistakes can quickly ruin their performance and flavor. Don’t reach for metal scrub brushes, wire brushes, or steel wool; they can bend or tear the fine mesh. Use a soft brush or cloth and light pressure instead, especially on cloth filters, which rough agitation can wear out.
Skip harsh chemicals. Bleach, abrasive cleaners, and scented detergents can damage materials and leave residues that taint aroma. If you use mild soap, rinse thoroughly so no surfactants linger on the filter.
Skip harsh chemicals and scented detergents; even with mild soap, rinse thoroughly to prevent residue and off-flavors
Avoid letting coffee oils and mineral deposits build up. Cold, weak rinses won’t remove heavy residue; use hotter water when needed and address stains before they harden into scale.
Finally, never store filters damp or sealed without airflow. Let them air-dry fully and always remove used grounds promptly to prevent mold, mildew, and unpleasant odors.
How Often You Should Clean Your Reusable Coffee Filter
Protecting your filter from damage is only half the battle; you also need a clear cleaning schedule to keep coffee tasting fresh. You should rinse your reusable filter every single time you brew. Shake or tap out the grounds, then flush with warm or hot water so oils and fine particles don’t harden into the mesh or cloth. Always let it air-dry completely to avoid mold and stale odors.
Use this simple rhythm to stay on track:
- After every brew – Rinse thoroughly; for cloth, be extra careful and dry it right away.
- Every week (or 3–5 uses) – Deep clean metal or mesh filters; boil cloth filters or soak in vinegar if buildup’s obvious.
- Every 2–4 weeks – Do a longer soak with baking soda or oxygen cleaner when you brew regularly.
- Monthly – Tackle hidden residue or mineral deposits; if cloth filters still taste off, replace them.
Frequently Asked Questions
Can I Use My Reusable Filter With Both Coffee and Loose-Leaf Tea?
Yes, you usually can, but you’ve got to check the manufacturer’s instructions first. If the mesh is fine and the basket roomy, loose-leaf tea will steep well and won’t clog. Rinse right after each use and deep-clean regularly with mild soap or baking soda to prevent flavor transfer. If you’re picky about taste, keep one filter for coffee and another for tea.
Do Different Filter Materials Affect How Often I Should Replace Them?
Yes, filter materials change how often you should replace them. You’ll replace cloth filters most often—about every 2–6 months or ~100 brews. Gold-tone or plated mesh usually lasts 1–5+ years, depending on use and cleaning. Stainless steel and other metal filters last the longest, often 3–5 years or more. Always watch for slower flow, off-flavors, odors, or visible damage and replace when those appear.
Is It Safe to Clean Reusable Coffee Filters With Boiling Water?
Yes, it’s safe if your filter’s stainless steel, gold‑tone, or clearly labeled boil‑safe. You can boil those in plain water to loosen oils and sanitize. Don’t boil nylon, plastic‑rimmed, or mixed‑material filters; use very hot (not boiling) water instead to avoid warping. Skip boiling with vinegar, since heat can speed corrosion and fiber damage. Always check the manufacturer’s instructions and handle hot filters carefully to prevent burns.
Can Residue Buildup in Reusable Filters Cause Health or Allergy Issues?
Yes, residue buildup in reusable filters can cause health or allergy issues, especially if you’re sensitive to mold or have asthma. When you let coffee oils and damp grounds sit, you create a breeding ground for mold and bacteria. You might notice coughing, sneezing, watery eyes, or throat irritation. You reduce risk by rinsing thoroughly after each use, washing with soap regularly, and letting the filter dry completely between brews.
How Do I Remove Metallic or Plastic Odors From a Reusable Coffee Filter?
You remove metallic or plastic odors by deep-cleaning and fully drying the filter. Rinse off grounds, then soak it in warm water with dish soap or baking soda for 20–30 minutes. Scrub gently with a soft brush, inside and out. For tougher smells, use a 1:3 vinegar–water soak, then rinse very thoroughly. Let it air-dry completely. If odor lingers after several cleanings, replace the filter.
Conclusion
By now, you know exactly how to keep your reusable coffee filter fresh, clean, and brewing at its best. Rinse it right after each use, give it regular soap washes, and deep-clean when it looks stained or clogged. Dry and store it properly so it doesn’t grow odors or mold. Avoid harsh cleaners and bad habits, and you’ll protect both flavor and filter. Stick to this brewing routine, and every cup you brew will taste cleaner, richer, and more satisfying.
