
You can make cold foam at home without a machine by chilling your milk or cream, then whipping a small amount (about 1/4 cup) with a jar, French press, whisk, or blender for 15–60 seconds until thick and silky. Skim or 2% milk gives the best foam; add some heavy cream for richness and vanilla syrup for sweetness. Stop when it looks like melted soft-serve. Next, you’ll see exactly which ratios and methods work best.
Key Takeaways
- Chill your milk or cream first, then work in small 1/4-cup batches for faster aeration and better foam expansion.
- Use skim or 2% milk for the thickest, most stable foam; add a little heavy cream for extra richness and body.
- Froth by hand using a whisk, jar shaking, French press, blender, or immersion blender for about 30–60 seconds.
- Stop frothing when the foam is glossy, thick, and forms soft peaks, similar to melted soft-serve ice cream.
- Sweeten and flavor with vanilla, caramel, or other syrups before frothing, then serve immediately over iced coffee or cold brew.
How to Make Cold Foam at Home

You can make café-style cold foam at home with just chilled milk or cream, a simple frothing tool, and a few minutes of effort. Start with cold liquid straight from the fridge so it aerates quickly and holds its structure. Skim milk foams especially well for a lighter texture that closely mimics classic cold foam. Work in small batches, about 1/4 cup at a time, to give the foam room to expand.
If you’re using a handheld frother, place it just below the surface, then gradually raise it as the foam builds. Froth for about 15–30 seconds, until it looks light and fluffy, with soft peaks that slowly level out. Stop once it’s thick, silky, and still pourable.
You can also shake a half-filled mason jar for 45–60 seconds, pump a French press plunger 20–30 times, or blend on high for 15–20 seconds. Spoon or gently pour the foam over iced coffee or cold brew and serve immediately.
Best Ingredients for Cold Foam
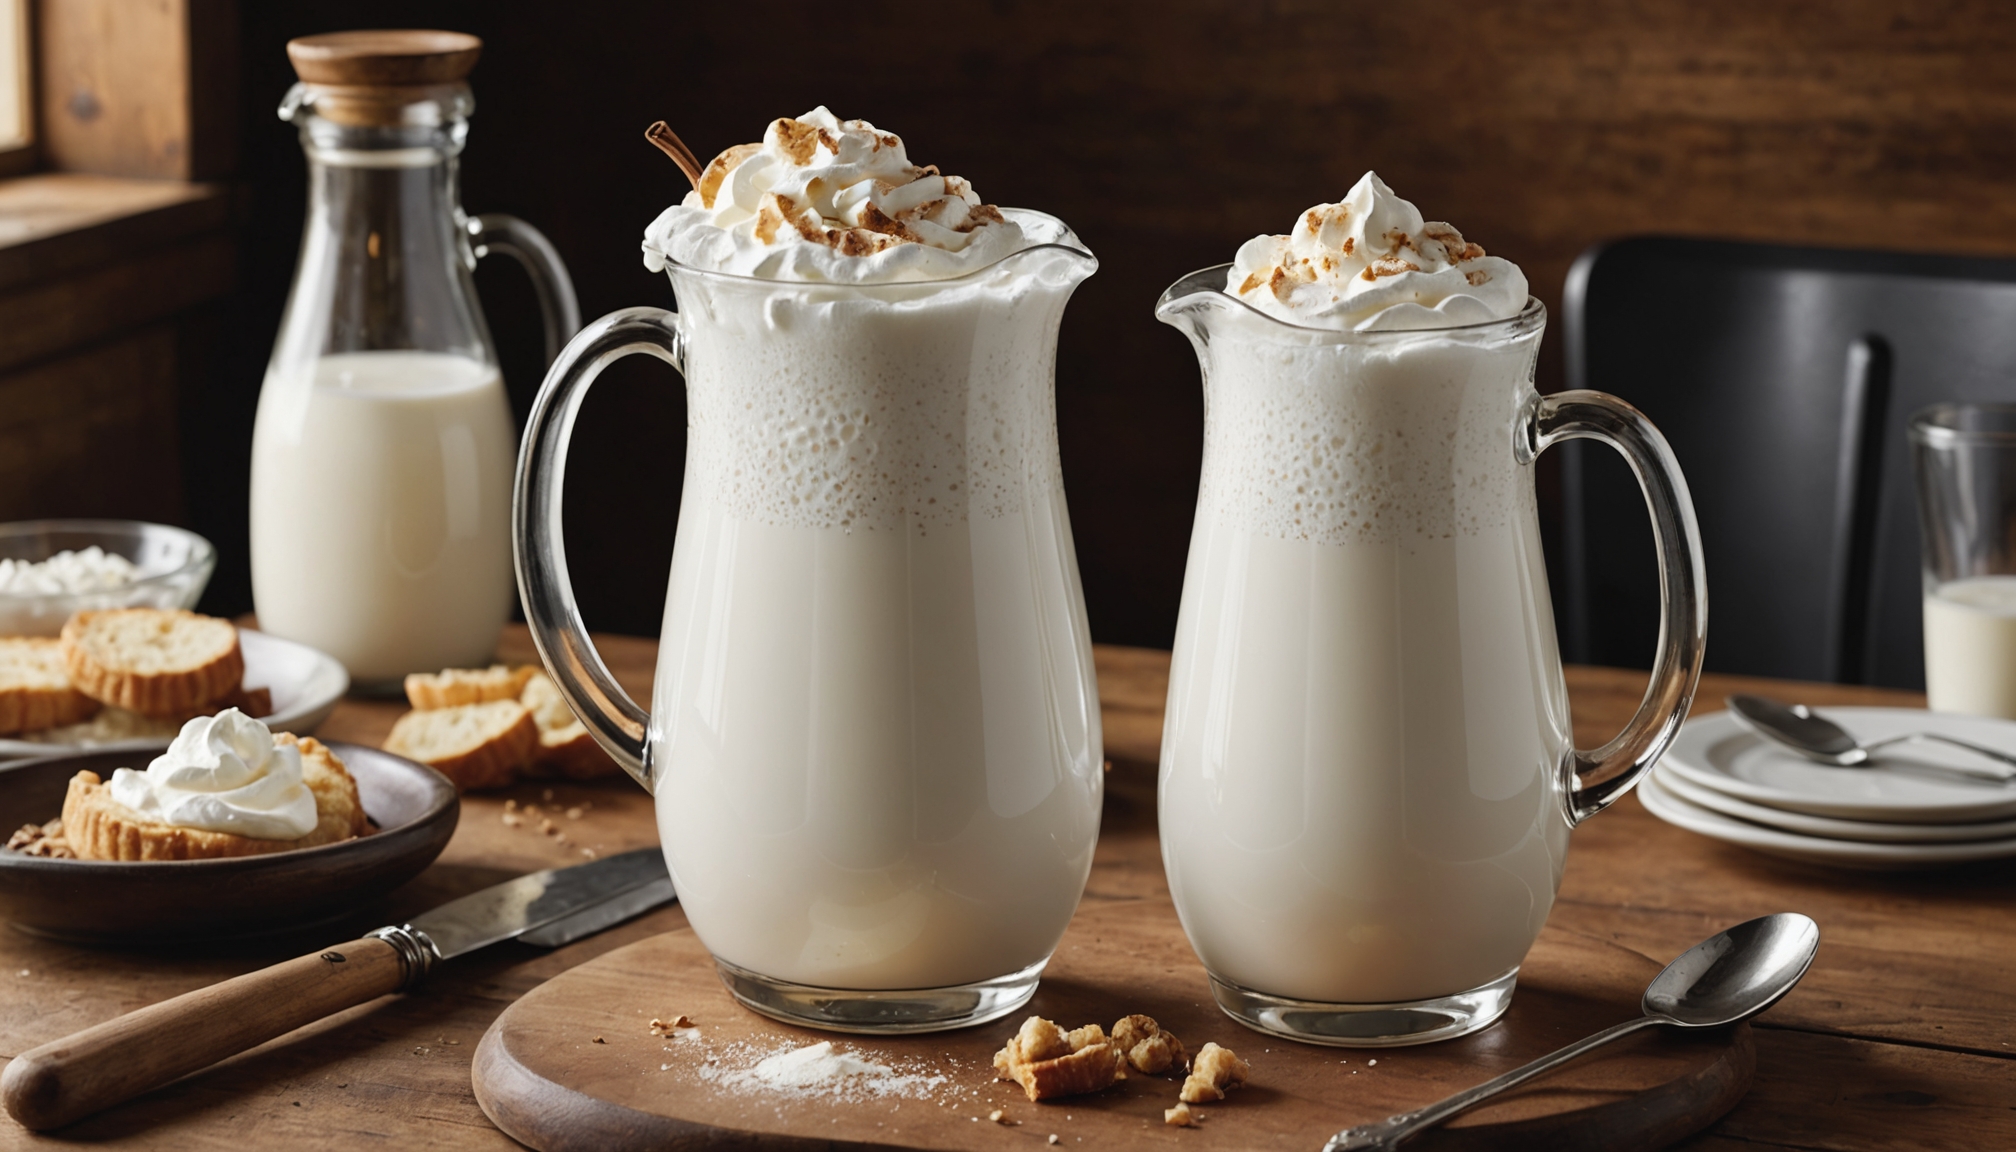
Great cold foam starts with the right ingredients: a milk base that froths well, optional cream for richness, and just enough sweetener and flavor to complement your coffee without weighing the foam down. Skim or nonfat milk gives you the stiffest, most stable foam, while 2% offers a nice balance of structure and creaminess. Whole milk yields softer, richer foam. If you’re dairy-free, choose barista-style oat or soy milk; added protein and stabilizers help it froth. Always start with very cold milk. For an experience similar to what you’d get at Starbucks, you can use vanilla syrup to mimic their signature sweet cream flavor.
For extra decadence, add a splash of heavy cream or half-and-half. Use cream sparingly so the foam stays light, not sludgy.
Keep sweeteners light: simple or vanilla syrup dissolves quickly, while honey, maple, or flavored creamers add character. Layer in flavor with vanilla or almond extract, caramel syrup, cinnamon, cocoa, or seasonal syrups. Tiny amounts of cornstarch, Greek yogurt, or salt can fine-tune thickness and flavor.
Milk and Cream Ratios That Actually Work

Cold foam only behaves the way you want it to when the cream-to-milk ratio is dialed in. The more heavy cream you add, the thicker and more stable the foam becomes; the more milk you add, the lighter and more pourable it gets. You’ll get the most reliable results when you treat ratios as tools, not guesses. For the best structure and flavor, keep both the cream and milk as cold as possible before frothing.
Here are four proven patterns:
1. Classic café-style (3:2:1)
Use 3 parts heavy cream, 2 parts 2% milk, 1 part sweetener. It stays airy without turning into whipped cream.
2. Single-drink shortcut
Mix 3 tablespoons heavy cream with 2 tablespoons 2% milk for one drink.
3. Softer, lighter foam (1:1)
Combine equal parts cream and milk for a gentler, more sippable texture.
4. Extra-rich foam (2:1 or 3:1)
Use 2:1 for a dessert-like topping, or 3:1 with low‑fat milk for the thickest, most stable foam.
Cold Foam Methods Without a Frother
Anyone with a few basic kitchen tools can make café-style cold foam without buying a frother. Your main goal is a light, pourable foam that’s airy, not stiff like whipped cream. Stop once it looks roughly doubled in volume and visibly frothy, then use it right away before it starts to collapse.
Make café-style cold foam at home: light, pourable, airy, and ready in under two minutes
With a hand whisk, use a cold metal or glass bowl. Whisk vigorously for 45–90 seconds, depending on batch size and speed. This method suits small amounts and gives you fine control over texture. For the best results, make sure your cream is cold, straight from the fridge, before you start whisking.
A high-powered blender or small blender cup works better for larger batches. Start on low, then increase to high for about 45 seconds, or use short pulses. Stop as soon as the foam turns fluffy and velvety so it doesn’t become whipped cream.
An immersion blender offers similar control. Blend cold milk in a cup or bowl, beginning on low and increasing gradually for even aeration.
Make Cold Foam With a Jar or French Press
You can make impressive cold foam at home with nothing more than a jar or a French press. Milk choice impacts foam texture, so using skim, 2%, or barista oat milk will change how thick and velvety your cold foam turns out. In this section, you’ll see how to shake a jar for quick, light foam and use a French press when you want more control and a denser texture. You’ll also learn simple tweaks that help you get thicker, creamier foam every time.
Jar Shaking Basics
Instead of relying on special equipment, a simple jar (or French press) lets you whip up cold foam with just a firm shake. Focus on a small, clean mason jar with a tight lid, and don’t fill it more than halfway so the milk has room to aerate.
1. Pick the right jar
Choose a smaller jar with a wide mouth and a leakproof lid; overfilling kills foam volume.
2. Prep the cold ingredients
Use chilled milk or milk-and-cream, add sweeteners or flavor first, and measure before you shake.
3. Shake effectively
Seal tightly, then shake hard side‑to‑side for 30–60 seconds, stopping before the jar warms.
4. Check texture and use fast
Aim for thick, spoonable foam using this creamy foam recipe; pour over iced coffee right away, shaking briefly again if it separates.
French Press Frothing
Jar shaking works for quick foam, but a French press gives more control and thicker, café‑style results. Set up a clean press with the plunger assembled, then pour in cold milk straight from the fridge, no more than one‑third to halfway full. Make sure the mesh screen touches the milk.
| Step | What You Do | Why It Matters |
|---|---|---|
| 1 | Add milk and optional syrup | Flavor’s even and ready to aerate |
| 2 | Pump quickly near the surface | Introduces air for light, stable foam |
| 3 | Finish with deeper plunges, then rest | Refines texture and helps foam stabilize |
Use whole milk, half‑and‑half, or barista‑style oat milk for best structure. Pump rapidly for 30–60 seconds, until the plunger tightens and the volume nearly doubles. Tap and swirl, then pour immediately over your iced drink.
Tips For Thicker Foam
Although cold foam looks simple, a few small tweaks make the difference between thin bubbles and a thick, cloud‑like topping. To get café-style results with a jar or French press, focus on your base, space, motion, and timing.
1. Chill your base
Use very cold skim or 2% milk. For extra richness, mix a splash of heavy cream with 2% milk.
2. Leave room to grow
Fill your jar or press no more than halfway. The container should be at least twice the liquid volume.
3. Work it hard
Shake or pump vigorously for 45–60 seconds, until the foam doubles and looks airy.
4. Flavor with restraint and serve fast
Add small amounts of syrup or powdered sugar, then serve immediately at soft-peak thickness.
Make Cold Foam With a Whisk or Blender
If you don’t have a jar or French press handy, you can whip up cold foam with a simple whisk or a basic blender. You’ll start by whisking a chilled cream-and-milk mixture by hand or letting the blender do the work, then watch for the soft, pillowy peaks that signal the right texture. From there, you can tweak your method to get exactly the foam style you like, from light and airy to richer and thicker.
Whisking Cold Foam Basics
Two simple tools—a whisk or a blender—are all you need to create smooth cold foam recipes using very cold milk for a smooth, spoonable cold foam at home. You’re simply aerating cold milk (or milk plus a little cream) without steam until it doubles in volume, looks thick and creamy, and still pours.
1. Chill everything
Use very cold dairy milk; nonfat foams tallest, 2% feels richer. Keep your container chilled too.
2. Choose the right vessel
A tall, narrow glass or jar minimizes splashes and creates a stronger vortex.
3. Work in small batches
Froth about 1/4 cup (60 ml) at a time for better control and stability.
4. Watch the texture
Stop when soft peaks form and the foam falls in thick ribbons; don’t whisk to stiff, whipped-cream territory.
Blender Method Step-By-Step
Fire up your blender when you want fast, silky cold foam with almost no effort. Start with 100–120 ml of very cold milk or a 1:1 milk-and-cream blend; chill the milk and blender jar if you can. Add any sweetener or vanilla syrup now so it blends evenly.
Pour the mixture into the container, leaving room for the foam to expand. Begin on low or medium, then ramp up to high. Blend 15–30 seconds (up to 45 for weaker motors), or pulse in short bursts. Stop as soon as the volume roughly doubles and looks smooth and frothy—over-blending turns it stiff and dry. Immediately spoon or pour the foam over iced coffee or cold brew so it stays airy.
Choosing Your Foam Texture
Now that you’ve seen how quickly a blender can whip up cold foam, it’s worth deciding what kind of texture you actually want and which tool will get you there. Think about how you’ll use the foam: topping, layering, or both. Aim for soft peaks that look glossy, thick, and billowy, but still pourable, so the foam floats, then slowly cascades into your iced coffee.
- For rustic foam: Use a whisk. You’ll get larger bubbles, airy texture, and a quick-collapse, homemade look.
- For café-style foam: Use a blender briefly on medium–high for smoother, more uniform peaks.
- For better control: Keep milk cold, container under half full, and finish with a tap or swirl.
- For lighter toppings: Stop either method once the foam thickens but still flows.
When to Stop Frothing Cold Foam
One reliable way to know when to stop frothing cold foam is to watch for soft, glossy peaks that look thick and pillowy but still pourable. Aim for a texture like melted soft-serve or marshmallow fluff: the foam should form soft peaks that hold for a moment, then slowly relax. The surface needs to look smooth and velvety, not bubbly, with individual bubbles hard to see.
Watch the volume as you froth. With a handheld frother, you’ll often hit the sweet spot in about 15–30 seconds, though some tools take as little as 10–15 seconds or up to 1–2 minutes. Stop once the foam looks airy and has clearly expanded.
Avoid over-frothing. If the foam turns dry, chunky, or stiff, you’ve gone too far. Use it right away or after a brief 15–20 second rest, before it thickens so much that it stops pouring in a thick ribbon.
Flavored Cold Foam Ideas and Add-Ins
Ever wonder how cafés turn simple cold foam into something that tastes like dessert or a seasonal special? You do the same thing at home by building flavor into your cream-and-milk base before you froth.
1. Vanilla and Sweet Cream
Stir in about 1 tablespoon vanilla syrup per serving, then froth. Use pure vanilla extract instead (or with syrup) if you want less sweetness. Vanilla pairs easily with caramel, cinnamon, or seasonal spices.
2. Caramel, Brown Sugar, and Toffee Notes
Mix caramel syrup or sauce into your base for a richer, dessert-like topping. Brown sugar syrup adds deep molasses flavor; a pinch of sea salt turns it into salted caramel.
3. Chocolate and Mocha
Combine cocoa powder with chocolate syrup and a little sweetener, then froth for mocha foam that softens espresso’s edge.
4. Fruit, Floral, and Seasonal Twists
Try strawberry or blueberry syrups, lavender or rose, pumpkin spice sauce, matcha with honey, or a drop of almond extract.
Fixing Thin, Watery, or Overwhipped Cold Foam
Great flavor ideas only shine if the foam itself looks and feels right, so you’ll want to know how to fix batches that turn thin, watery, or overwhipped. If your cold foam looks flat and soupy, check temperature first: warm milk won’t hold structure. Use colder dairy, and choose higher‑protein milk. If you’re using sweet cream, stir it well so nothing’s separated, then increase the cream‑to‑milk ratio and froth a little longer. If it’s still thin, start over with properly chilled ingredients.
Overwhipped foam looks stiff, dry, bubbly, or even curdled. The moment you see that, stop frothing and add a small splash of cold milk or cream. Gently fold or stir instead of turning the frother back on, then chill briefly so the fat re‑firms. If it stays grainy or separated, discard it.
To prevent issues, keep dairy cold, froth in a narrow vessel, and stop at soft, glossy foam.
Frequently Asked Questions
Can I Make Cold Foam With Non-Dairy Milks Like Oat, Almond, or Soy?
Yes, you can. Use chilled barista-style oat milk for the creamiest, most stable cold foam. Pour it into a jar or French press, then shake or pump vigorously for 20–30 seconds. You can also use soy milk for a strong, protein-rich foam, though it’s a bit thinner. Almond milk works, but it’s lighter and less stable, so add sweetener or vanilla to improve texture.
How Long Does Homemade Cold Foam Stay Good in the Refrigerator?
It usually stays good about 24 hours for best texture and flavor. You can safely keep tightly sealed cold foam in the fridge for up to 2–3 days, but it’ll separate and deflate. Store it in an airtight container at the back of the fridge (40°F / 4°C or below). Stir or re-whisk before using, and toss it if you notice sour smells, off flavors, mold, or curdling.
Is It Safe to Transport Cold Foam to Work or School Without Separating?
It’s only somewhat safe, and it won’t stay fully mixed. You can transport cold foam for a short commute if you keep it below about 5°C in a sealed, insulated container with an ice pack. Even then, vibration and time will make it lose volume and smoothness. For longer trips, you’re safer carrying cold milk, keeping it chilled, and foaming it when you arrive instead.
Can I Make a Large Batch of Cold Foam for a Party or Brunch?
Yes, you can, but you’ll want to manage timing. Mix a large liquid base ahead, keep it chilled, then froth in batches right before serving. Use a big blender for crowds or an immersion blender for smaller groups. Stick to your usual cream–milk–sweetener ratio, and stop blending at soft peaks. Don’t hold finished foam long; it collapses. Instead, re-froth briefly if it slightly separates.
Does Altitude or Humidity Affect How Well Cold Foam Whips and Holds?
Yes, both matter, but in different ways. At higher altitude, you’ll still whip foam just fine, but it tends to be a bit less stable and can deflate faster. Humidity mainly affects how long it holds: dry air makes foam collapse sooner because it evaporates faster, while humid air helps it stay thick longer. Use very cold, higher‑protein milk or cream and don’t overwhip to maximize stability anywhere.
Conclusion
Now you know how to make café-style cold foam at home—no fancy machine needed. With the right milk-to-cream ratio, a simple tool like a jar, whisk, or French press, and a few flavor ideas, you can top any iced coffee or tea with a silky, cloud-like layer. Remember to stop frothing when it’s thick but pourable, and tweak texture or flavor as you go. You’ve got everything you need to start experimenting.
