
To clean your Keurig the right way, wash the removable parts weekly with warm, soapy water and let them air-dry. Descale every 3–6 months (2–3 in hard-water areas) using Keurig’s descaling solution or white vinegar, then run several water-only cycles to rinse. Clear the entrance and exit needles with a paper clip, empty the drip tray daily, and use filtered water to cut mineral buildup. Next, you’ll see exactly how to do each step safely and effectively.
Key Takeaways
- Descale the Keurig every 3–6 months (more often with hard water) using Keurig Descaling Solution, following the solution-and-rinse instructions carefully.
- Weekly, remove and wash the water reservoir, lid, drip tray, pod holder, and funnel with warm, soapy water; rinse well and let air-dry completely.
- Clean the entrance and exit needles weekly with a paper clip or tool, then run a water-only cycle to flush out loosened debris.
- Follow a routine: daily empty and rinse drip tray, wipe exterior; weekly deep-clean removable parts; monthly inspect for stains, odors, or trapped grounds.
- Use filtered or bottled water, refresh the reservoir daily, avoid abrasive tools, and watch for slower flow or cooler coffee as signs cleaning is needed.
How to Clean and Descale Your Keurig (Quick Guide)

Even if your Keurig looks clean on the outside, its internal lines can slowly clog with mineral deposits, hurting both performance and flavor. Descaling flushes those deposits from the water system so your brewer runs smoothly and your coffee tastes right. Plan about 45 minutes and use Keurig Descaling Solution for best results. Aim to descale every 3 to 6 months to prevent limescale buildup and keep your machine running efficiently.
Start by emptying the water reservoir, removing any water filter, and powering the brewer off if your model requires it. Pour the entire bottle of descaling solution into the reservoir, then fill the empty bottle with water and add it.
Turn the brewer on, place a large mug on the drip tray, and run cleansing brews with no K‑Cup, usually on the largest size (some 2.0 models use 6 ounces). Keep brewing until the reservoir’s nearly empty, then let the machine sit for at least 30 minutes so the solution can work through internal components.
Clean Your Keurig’s Removable Parts
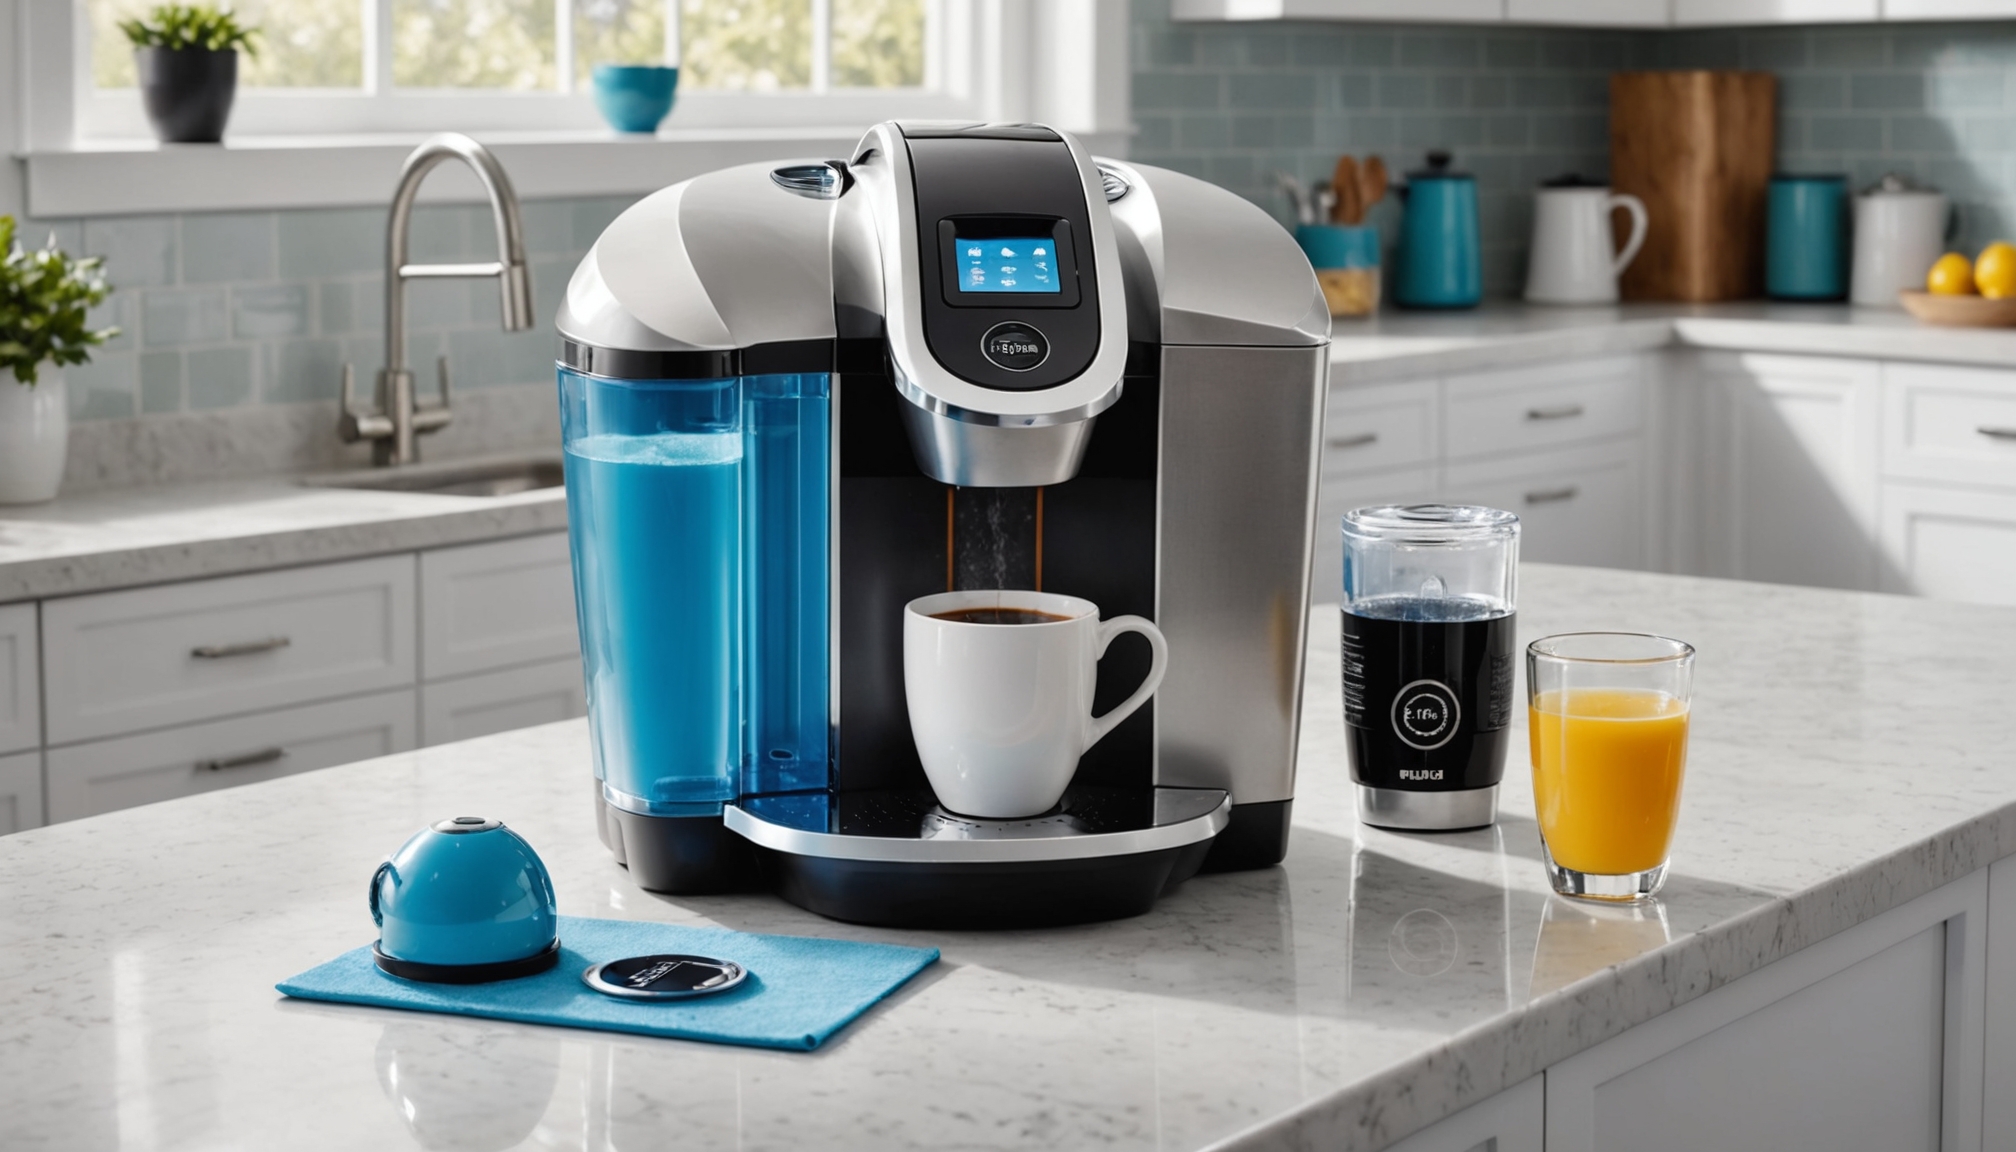
To keep your Keurig brewing clean and tasting fresh, you’ll need to take apart and wash its removable pieces on a regular weekly schedule. You’ll remove the reservoir, drip tray, pod holder, and related parts, then wash them with warm, soapy water using non-abrasive tools. Weekly cleaning helps prevent scale buildup, clogs, and slow pouring so your machine stays consistent over time. After that, you’ll focus on thorough rinsing, complete drying, and careful reassembly so moisture and residue don’t build up.
Weekly Part Disassembly
Once a week, start by safely breaking your Keurig down into its key removable parts so you can clean where buildup hides. Always unplug the brewer first and let it cool completely. Open the handle only when the unit’s cool to the touch, and never force warm plastic parts—tabs can crack. When in doubt, check your model’s manual to confirm what comes apart. This routine weekly maintenance helps prevent bitter flavors caused by residue and keeps your coffee tasting fresh.
Next, lift off the water reservoir and its lid, pull out the drip tray, and remove the K-Cup or pod holder assembly. Separate any funnel or insert your model uses. Take out the water filter from the reservoir if you have one. Inspect the pod holder and needles for trapped grounds, then reassemble only after every piece is ready and correctly seated.
Washing and Drying Steps
Next, give every removable part a quick but thorough wash so coffee oils and residue don’t build up over time. Remove the reservoir, lid, drip tray, pod holder, and funnel. Wash them in warm, soapy water with a soft cloth, sponge, or toothbrush, focusing on corners, fill lines, seals, and channels where grime hides. Scrub until the anti-drip float in the tray moves freely. Avoid placing the reservoir in the dishwasher, as its plastic can warp or crack under high heat.]
Rinse every piece under clean water until no film, suds, or debris remains. Even if you’ve soaked parts, rinse them well so soap doesn’t affect taste.
Let the reservoir air-dry upside down on a clean towel; don’t wipe its interior. Towel-dry exteriors, then reassemble only when everything’s completely dry to avoid trapped moisture.
How to Descale Your Keurig (Vinegar or Solution)

Although it’s easy to overlook, descaling your Keurig with either white vinegar or Keurig’s Descaling Solution is essential for keeping water flowing smoothly and the heating element working properly. Descaling breaks down mineral scale that builds up on internal parts, especially if you have hard water or use your machine daily.
Start by removing any K-Cup, emptying the reservoir, and taking out the water filter if your model has one. Place a large mug on the drip tray and select the normal brew setting or descale mode. Plan for about 45 minutes with solution or up to 5 hours with vinegar to fully complete the descaling process.
For vinegar, fill the reservoir with a 1:1 mix of white vinegar and water. Run brew cycles (no pod) until nearly empty, then let the solution sit for about 30 minutes.
For Keurig Descaling Solution, fill the reservoir as directed—often half solution, half water. Run brew cycles until empty, allowing the solution to dwell for 30 minutes if recommended.
Rinse Your Keurig Properly After Descaling
After the descale solution or vinegar has run through your Keurig and sat for the recommended time, you need to flush every trace of it out. Start by dumping any leftover solution from the reservoir. Rinse the tank, lid, and edges thoroughly, then refill with fresh water only, up to—but not past—the MAX line.
Now you’ll clear the internal lines:
- Place a large mug on the drip tray, make sure there’s no K-Cup inserted, and select the largest brew size.
- Run a brew, then pour the hot water down the sink.
- Repeat this process until you’ve completed at least 12 rinse cycles, refilling the reservoir with fresh water whenever it runs low.
- If you still notice vinegar or chemical odor, keep running clean-water brews until the water looks clear and smells neutral.
Finally, give the reservoir one last quick rinse, refill, and reinstall it.
How Often to Clean and Descale a Keurig
To keep your Keurig running smoothly, you’ll want a simple schedule for both quick cleanups and deeper descaling. You’ll clean certain parts weekly or monthly, then descale the internal system every few months based on how often you brew and your water quality. Here’s how to set a realistic routine so you prevent buildup instead of reacting to problems.
Regular Cleaning Schedule
A simple cleaning schedule keeps your Keurig brewing fast, hot, and safe to use. Build habits around how often you brew so grime, mold, and stale flavors never get a chance to stick.
Here’s a simple rhythm to follow:
- Daily: Empty and rinse the drip tray when liquid collects, toss used pods right after brewing, wipe splashes from the exterior, refresh standing water in the reservoir, and quickly check the brew area for residue.
- Weekly – removable parts: Wash the reservoir, lid, drip tray, pod holder, and exit needles with warm, soapy water; let everything air‑dry.
- Weekly – exterior: Wipe the body and brew head, then dry; avoid abrasive pads.
- Monthly: Inspect all parts for stains, odor, slime, or trapped grounds and reclean as needed.
Descaling Frequency Guidelines
Think of descaling as your Keurig’s internal deep clean, and you’ll find it’s less about guessing and more about paying attention to a few key factors. As a baseline, plan to descale every 3–6 months or whenever the descale light comes on.
Water hardness is the big variable. If you have soft water, you can usually stretch closer to six months. With hard water, aim for every 2–3 months, and with very hard water, some guides recommend monthly descaling.
Usage matters too. If you brew multiple cups a day, shorten the schedule; light use can stay on the longer end. Always let performance override the calendar—slower flow, cooler coffee, or the descale light mean it’s time to act.
Keurig Maintenance Tips to Prevent Clogs
One of the easiest ways to keep your Keurig from clogging is to treat maintenance as a quick, regular habit instead of a last-minute fix. Start with your water: use filtered water and refresh the reservoir daily so minerals, residue, and odors don’t build up and narrow internal passages.
Add these simple habits to your routine:
- Wash removable parts weekly—the reservoir, lid, drip tray, pod holder, and funnel—with warm water and mild dish soap, then let everything air-dry fully before reassembling.
- Empty the drip tray often so stagnant overflow and splashes don’t dry into sticky buildup that can migrate into openings.
- Clear both entrance and exit needles weekly with a paper clip or cleaning tool (always unplug first), then run a water-only cycle to flush debris.
- Descale every 2–3 months in hard-water areas (up to 6 months with filtered water), following Keurig’s solution-and-rinse instructions carefully.
Frequently Asked Questions
Can I Use Filtered or Bottled Water to Reduce Scale Buildup in My Keurig?
Yes, you can use filtered or bottled water to reduce scale buildup in your Keurig. When you switch from hard tap water, you lower calcium and magnesium deposits, so parts clog more slowly and the heater stays cleaner. Don’t use distilled water if your model warns against it. Even with filtered or bottled water, you’ll still need to descale regularly, following the descale light and your usage pattern.
Is It Safe to Run Descaling Solution Through the Frother or Milk Accessories?
No, you shouldn’t run descaling solution through the frother or milk accessories unless your specific model’s manual explicitly says it’s safe. Descaler’s made for the internal water path and mineral scale, not milk residue. You risk chemical residue, odors, and damage to electrical parts. Instead, you’ll remove detachable pieces, wash them with warm, soapy water, or place them in the dishwasher only if your manual approves it.
How Do I Store My Keurig if I Won’T Use It for Months?
You’ll store your Keurig by first unplugging it, emptying the reservoir, and removing any water filter. Run a descaling cycle, then hand‑wash and thoroughly rinse removable parts. Let every piece air‑dry completely and leave the brewer open so hidden moisture evaporates. Once dry, reassemble loosely or pack separately. Keep it upright in a cool, dry, frost‑free place. When you’re ready to use it again, rinse and run a few water‑only brews.
What Should I Do if My Keurig Still Tastes Like Vinegar After Multiple Rinses?
If your Keurig still tastes like vinegar after multiple rinses, keep flushing. Run at least 12 large-cup water cycles, tasting between runs. Disassemble the reservoir, drip tray, and brew basket, wash with warm soapy water, and rinse thoroughly. If the taste lingers, dissolve ½–1 teaspoon baking soda in a full reservoir, run several cycles, then rinse with plain water. If it still persists, contact support or consider a deeper internal cleaning.
Can I Clean a Moldy Keurig Water Reservoir, or Should I Replace It?
You can usually clean a moldy reservoir, but you shouldn’t ignore persistent growth. Remove the reservoir, lid, and filter, then wash with warm, soapy water and a soft sponge. For visible mold, soak in a 50/50 vinegar–water mix for 30 minutes, then rinse well and air-dry completely. If mold returns quickly, smells linger, or plastic’s cracked, cloudy, or rough, you should replace the reservoir.
Conclusion
Now you know exactly how to clean, descale, and maintain your Keurig so it keeps brewing fresh, great-tasting coffee. Stick to a regular cleaning schedule, flush the machine after descaling, and watch for early signs of buildup or clogs. When you stay on top of these simple steps, your Keurig will last longer, run more smoothly, and give you consistently delicious cups—without the weird tastes, slow drips, or surprise shutdowns.
